Friday 31 January 2014

Sweet Chilli Chicken

This week my boyfriend is at the ANS conference in Adelaide, Australia. As you can image, I am missing him like crazy and counting down the minutes until I get to go and pick him up from the airport. However, on the up-side, his being away is giving me the opportunity to play around with flavors that he's not exactly thrilled about, including sweet chilli.

This sweet chilli chicken stir fry makes a perfect mid-week meal as it's so quick to throw together, also, the vegetables listed here in the ingredients aren't set in stone, you can use whatever you have in your refrigerator. It'll taste great no matter what you use.

Sweet Chilli Chicken


Serves 4

500 g skinless chicken breast, sliced
1/3 Cup sweet chilli sauce
1/4 Cup soy sauce
2 Tbsp Rice wine vinegar
1 Onion, diced
1 Red bell pepper, sliced
4 Cloves garlic, finely diced
1 red chilli, deseeded and finely diced
1 carrot, diced or sliced
Enough cooked brown or white rice for four to serve

1. Make the sauce by combining sweet chilli, soy sauce, and rice wine vinegar. You can also add a bit of grated ginger if you like (just not really my thing so I didn't use any). Stir in the chicken and marinate for about 15 minutes.

2. Heat a small bit of oil in a fry pan or wok. Add the chicken (trying to leave behind as much of the sauce as possible) and fry until cooked (about 4 or so minutes), add the vegetables and fry a couple more minutes.

3. Add the remaining sauce and continue to fry until hot. Serve over rice (or noodles if you prefer)

Thursday 30 January 2014

Raspberry Orange Smoothie

It was a perfect Summer day here (pity it was a weekday!) and after walking our dog, Ella, in the evening sunshine I was really craving a smoothie of some sort.

I just grabbed what I had at hand and ended up with this wee beauty. It tasted fantastic and satisfied my craving perfectly, not to mention, it made for a nice healthy dessert!


Raspberry Orange Smoothie


Makes 1 large or 2 small

1 Cup frozen raspberries
1 Cup orange juice (I actually used orange and mango and it was amazing!)
1/2 Cup light Greek yogurt
About 5 ice cubes, smashed up a little
1 Tbsp sweetener (I used Stevia, normal sugar would be fine too)

1. Place everything in a blender, blend until smooth, and enjoy!


Wednesday 29 January 2014

Mexican Beef Quinoa

Quinoa (keen-wah, I said it wrong for SO long so it's OK for you to admit it too!) is a grain of exceptionally high nutritional value, so much so that last year the UN declared 2013 as "International year of quinoa." It contains antioxidants, anti-inflammatries, beneficial fats, it's high in fibre, zinc, folate, amino acids.. the list goes on. 

Quinoa is very versatile. It can be used in both sweet and savory dishes, in breakfasts (see my quinoa and chia granola), lunches, and dinners.

I wanted to do something a little bit different with quinoa. Most of the time, when you see quinoa in savory dishes it's in a salad of some kind, I wanted to use it in the way you would expect to use rice. This was a really easy dish to put together as well as it all just went into one pan.


Mexican Beef Quinoa

Serves 4

400 g beef mince
3 cloves garlic, finely grated or crushed
1 onion, finely diced
1 red chilli, de-seeded and finely diced
1 Cup uncooked, rinsed quinoa
1 1/2 Cups beef stock
400 g can diced tomatoes
400 g can red kidney beans, drained
Salt and Pepper
2 Spring onions, sliced


1. Heat a dash of oil in a large saucepan over a medium heat. Add the beef and brown, add garlic, onion, and chilli and cook for about 3 minutes.

2. Stir in the quinoa, stock, tomatoes, and beans. Bring to a boil, lower heat to a simmer, cover and simmer for 30 minutes, until most of the liquid is absorbed and the quinoa is cooked.

3. Season with salt and pepper, serve topped with spring onion, and cheese and sour cream if desired.

Tuesday 28 January 2014

Mushroom Soup

I love all kinds of soup. I love soup so much that I always struggle to decide what kind to make, it's so much easier to just ask my boyfriend what kind he wants! This time he wanted mushroom (if you know him that will be no surprise to you at all!). So here it is! Mushroom soup. 

Apparently this mushroom soup was perfect and I should definitely make it again. I don't think I will ever get used to such lovely compliments about my food. It's so nice to know that what you are making is so enjoyed by those you are making it for.

The nice thing about soups is that they are so easy to prepare. You don't have to spend much time at all preparing anything as nothing needs to be chopped nicely as it's only going to be blended up anyway. It's also very easy to manipulate the servings. If you want to serve more people, just use more stock (and maybe a few more mushrooms so that you don't lose the mushroomy goodness!)


Mushroom Soup

Serves 3-4

600 g Mushrooms, roughly chopped (I used white button and Portabello)
2 Tbsp Oil (I used canola, whatever you prefer would work just fine)
1 Onion, chopped
4 cloves garlic, crushed
3 Cups Stock (Chicken or vegetable)
Salt and Pepper
1/2 Cup skim milk

To Serve

Cream/milk
Parsley
Chunky/crusty bread


1. Heat oil in a large saucepan over a medium heat. Fry onion and garlic for about 5 minutes. Add the mushrooms and cook for another couple of minutes.

2. Add the stock, salt, and pepper. Bring to the boil and simmer for 25 minutes, until the mushrooms are soft.

3. Stir in the milk. With a stick blender or food processor, blend the mixture to break down the vegetables resulting in a mixture of thick consistency.

4. Return to the heat briefly to ensure a good temperature. Serve with a chunky bread, and topped with a swirl of cream and chopped parsley, if desired.

Monday 27 January 2014

Buttermilk Chocolate Chip Scones

A simple, sweet buttermilk scone studded with chocolate - the perfect accompaniment to your tea or coffee break.


Saturday 25 January 2014

Apple Tart

I had some pastry left over from the Steak and Cheese Pie that I made for dinner on Sunday. I told my boyfriend I would make him a tart with it, and asked what he would like. He said he wanted an apple tart, so here we go!

You can use whatever sort of apple you like, but a sour apple like Granny Smith works well for baking. Also, if you have extra pastry you can very easily turn this into an apple pie by simply popping on a pastry lid.

Apple Tart

Serves 6

Short Crust or other sweet pastry
8 (approx) granny smith apples, peeled, cored, and sliced
1 tsp cinnamon
2 Tbsp Sugar
2 tsp vanilla essence or vanilla bean paste
40 g butter, melted.

1. Preheat oven to 180°C. Press the pastry into the base of a reasonably deep tart pan (I could only find my really shallow one so my tart ended up having to be very flat, so I need to repeat this for sure!). Blind bake the pastry if you need/want to.

2. In a large bowl, mix the apples, cinnamon, and sugar. Arrange the apples over the pastry base.

3. Stir the vanilla into the melted butter and pour over top of the apples. Sprinkle the top of the tart with sugar, if desired. This will give the finished tart a golden look, as well as adding sweetness.

4. Bake for about 40 minutes, until the apples are soft and golden. Serve with whipped cream or vanilla ice cream.

Friday 24 January 2014

Chocolate Caramel Slice

Chocolate caramel slice has always been a favourite of mine so yesterday when my boyfriend found out that he got accepted to ACAN it wasn't long before chocolate caramel slice sprang to mind after deciding that I would make him a treat since I was so proud of him being accepted into the course.

I tried to do a bit of a make-over of a classic recipe by making a few simple changes to make the slice a bit more waist-line friendly, and let me tell ya, the changes worked a treat. There is no way that anyone would ever guess that this is lightened up.


Chocolate Caramel Slice


Makes about 16-20 pieces

Base:

1 Cup plain flour
1/2 Cup shredded or dessicated coconut
1/4 Cup soft brown sugar
1/4 Cup Stevia
100 g Butter, melted
1 tsp vanilla bean paste (or 2 tsp vanilla essence)

Filling:

50 g butter
1/4 Cup golden syrup
1 x 400 g tin of light condensed milk

Topping:

250 g Quality dark chocolate
2 tsp neutral oil (I used canola)

1. Preheat oven to 180°C. Combine the base ingredients in a mixing bowl and press into the bottom of a baking paper lined slice pan. Bake for 15 minutes, or until golden brown.

2. Make the caramel filling by melting the 50 g butter with the golden syrup in a saucepan over a low heat. Simmer for a couple of minutes until thick. Add the condensed milk and stir for about 10 minutes, until golden in color. Spread over the base and refrigerate for about 1 hour, until set.

3. Melt the chocolate with the oil over a double boiler. Stir until smooth and spread evenly over the caramel and return to the fridge until set.

Tip: Before the chocolate layer is fully set, score the chocolate so that it is easier to cut when it is hard and doesn't make a mess.

The oil melted into the chocolate helps the chocolate to have a smoother, more spreadable consistency.

Thursday 23 January 2014

Lamb Fettuccine

Lamb is my favorite meat. Here, I made a lamb ragu in the slow cooker to end up with a beautiful tender meat sauce. I paired this with homemade egg fettuccine and it made for a lovely meal.

I love coming home in the evening to the smell of food that has been in the slow cooker all day. It's also nice to know that dinner is almost cooked already!

If you don't have time to make your own pasta then I would go for the fresh pastas in the chilled section of the supermarket, rather than dried pasta. 


Lamb Fettuccine with fresh egg pasta


Serves 4

Basic egg pasta
500 - 600 g lamb steaks, sliced
1 Onion, roughly chopped
4 cloves garlic, roughly chopped
1 Red bell pepper, roughly chopped
1 Red chilli, roughly chopped (seeds removed to suit your preferred spiciness)
1 1/2 Cups spinach leaves
1 400 g tin of tomatoes
Dried mixed herbs
Salt and pepper

1. Place all of the vegetables (including tinned tomatoes) in a food processor and process until neat smooth


2. Place the sauce, lamb, and mixed herbs in a slow cooker and cook on low for about 8 hours. If the sauce seems thin after 8 hours, switch the cooker to high, remove the lid and leave it for about half an hour and the sauce will thicken.

3. Cut homemade pasta into strips, cook in salted boiling water for about 4 minutes, drain, and serve lamb mixture over pasta.


Wednesday 22 January 2014

Basic Egg Pasta

Using this simple recipe, you can make all sorts of fresh pastas; fettuccine, spaghetti, lasagne, ravioli, tortellini. Just get creative with it!

Making your own pasta is really worth the little bit of extra effort. It tastes so lovely and almost melts in your mouth. It doesn't matter if you don't have a pasta machine, just use a rolling pin and roll the dough as thin as you can get it.

Traditionally, you would make pasta by making a heap of flour on a bench, making a well in the centre for the eggs, and the gradually pushing flour into the eggy centre. This takes a long time and can be hard to keep the eggs from running off along the bench. Just chuck everything in a food processor and I promise it will turn out just as good!

Homemade Pasta


Serves 4-6

2 Cups flour
3 Eggs
1/2 tsp salt
1/2 tsp extra-virgin olive oil

1. Sift the flour and salt. Add to a food processor and with the motor running add the eggs and oil, continue to process until it forms a dough.

2. Tip out onto a floured surface and knead a few times. Wrap in cling film and set aside to rest for about 30 minutes.

3. Separate the mixture into 4 and roll out each piece and either pass through a pasta machine until thin or roll with a rolling pin until nice and thin.

4. If making fettuccine, roll the pasta sheets up and slice into long strips. If making filled pasta, cut out the desired shapes.

5. Cook in a large saucepan of salted boiling water for about 4 minutes.

Tuesday 21 January 2014

Steak and Cheese Pie

Steak and Cheese Pie is a real Kiwi classic. Homemade in the slow cooker it's a real melt in the mouth delight.


Short Crust Pastry

Short crust pastry is a great recipe to have stored away as it goes well with both sweet and savory dishes. It is easy to make and easy to work with.

Short Crust Pastry

Makes 1 pie/tart

2 Cups plain flour
180 g butter, cubed and chilled
1/4 tsp salt
1 egg yolk
2 - 3 Tbsp chilled water

1. Place the flour, butter, and salt in a food processor. Process in short bursts until the mixture resembles a fine crumb.

2. With the mixer running, add the egg yolk and chilled water and mix until the mixture forms a solid dough.

3. Tip out onto a floured surface and shape into a ball. Wrap in cling film and chill for 60 minutes.

4. Roll pastry out on a floured surface, or between two sheets of baking paper, until about 3 mm thick. Press into the base and sides of a pie or tart dish. Prick the bottom a few times with a fork. Chill for about 30 minutes.

5. Blind bake at 180°C for 15 minutes. Remove baking paper and beads and bake for another 10 minutes.

6. Cool slightly before filling.  

Monday 20 January 2014

Cheesecake Bars

Vanilla Cheesecake on a chocolate cookie base topped with berry jelly.


Friday 17 January 2014

Chocolate and Raspberry Puff Pastries

I was originally planning to make these on Valentine's Day for my boyfriend but he has been working really hard lately (and very late!) so I thought he needed a bit of brightening up so I made them early. However, I did then have to think of something else to make on Valentine's Day! But what I have come up with now is even better and cuter than these little pastries.

These are super simple to make, and if you have all your ingredients ready they only take about ten minutes to assemble.


Chocolate and Raspberry Puff Pastries


Makes about 10

2 Sheets of puff pastry, thawed
10 pieces (approx) quality milk or dark chocolate
10 Raspberries (Fresh or thawed, I used frozen and thawed them in about 1 tsp sugar)
25 g butter, melted with 1 tsp vanilla extract mixed in

1. Preheat oven to 200°C (400°F). Roll out the pastry on a floured surface, cut out hearts (or whatever shapes you want) using a cookie cutter.

2. Place a piece of chocolate and a raspberry on top of half of the pastry shapes.

3. Brush the edges of the filled pastry with the butter mixture, place the another piece of pastry onto and seal the edges with a fork. You may need to squish the berry a bit.

4. Brush the tops of the pastries with the melted butter and bake for about 15 - 20 minutes, until the pastries are puffed up and golden.


Serve warm, fresh from the oven =)

Wednesday 15 January 2014

Chicken, Leek, and Mushroom Pie

Homemade pies are always a great weeknight dinner. I had been wanting to write a pie recipe for a while now and thankfully this one went down a treat. It was simple to make and uses common ingredients that you probably would usually pick up from the supermarket anyway. 

I made my own pastry for this pie, but if you don't have the time then store brought pastry would work just fine as well.

As this recipe uses cooked chicken, it would be a great way to use up leftover chicken from your Sunday roast.

I forgot to take a picture once I had cut into the pie, was pretty impatient to start eating it. So you'll just have to believe me that it looked lovely from the inside too. 


Chicken, Leek, and Mushroom Pie

Serves 4

Short crust pastry or 2 Sheets store brought shortcrust or puff pastry
Olive Oil
4 Cloves garlic, crushed or finely diced
1 leek, finely sliced
200 g button mushrooms, sliced
400 g chicken breast. Cooked and finely shredded
2.5 - 3 Cup chicken stock, warm
3/4 Cup milk
1-2 tsp wholegrain mustard
salt and pepper
1 egg + 1 Tbsp milk, beaten together


1. Make the pastry according to the directions. Make the pie filling while the pastry is chilling.

2. Roll out half the pastry and press into the bottom of a greased pie dish (I used a 20 cm springform cake tin and it worked wonderfully).

3. If you don't want the pastry going soggy after cooking the pie then blind bake for about 10 minutes at 190°C. Remove the baking paper and beads and cook for another 5 minutes. Set aside to cool while you finish the filling.

Pie Filling:

1. Heat the oven to 190°C, if not done already. Heat a dash of olive oil in a large saucepan over a medium heat.

2. Cook the garlic, mushrooms, and leak for 5 minutes. Add the chicken, stock, milk, mustard, salt and pepper. Bring to a simmer and cook until the sauce thickens (about 10 minutes). Leave to cool for about 10 minutes before transferring to the pie dish.

3. Roll out the other half/sheet of pastry and lay over top of the pie, brush with the egg wash and bake for 30 minutes, until the top is golden.   

Tuesday 14 January 2014

Strawberry and Raspberry Semifreddo

In yesterdays post I said that I would post the recipe to the dessert that I made for my special dinner. Here's the promised recipe!

I wanted to do something nice and summery, using seasonal ingredients. This is the result. It's such a simple dessert to make and oh so delicious. It's so lovely, light, refreshing, and creamy.

Make it a day ahead so that it will be set by the time you are wanting to serve it.


Strawberry and Raspberry Semifreddo

Serves 8 - 10

3 Eggs
2 Egg yolks
1 tsp vanilla bean paste
1 Cup caster sugar (super fine sugar)
3 Cups frozen raspberries (or mixed berries)
2 Cups cream, whipped
Fresh strawberries and raspberries to garnish

1. Line a loaf tin with cling film.

2. Whisk the eggs, egg yolks, vanilla, and sugar over a double boiler for 5 minutes. Remove from heat. Beat with an electric beater until thick and pale.

3.   Crush 2 cups of the berries and fold through the egg mixture. Spread the remaining frozen berries over the base of the lined tin.

4. Fold the whipped cream into the mixture and pour mixture into the tin. Cover with cling film and place in the freezer overnight.

5. Immediately prior to serving, garnish with fresh berries.

Monday 13 January 2014

Chorizo and Mozzarella Ravioli

On Saturday I spent a lot of my afternoon preparing and cooking a special meal for my boyfriend, no particular reason for it, just wanted to treat him to something extra special. This is what I made as our main. Although it takes a while it is absolutely worth the time and effort as homemade pasta is just fantastic, not to mention fun to make!

I made my pasta using a heart shaped cookie cutter, since I was making it to say "I love you" to my boyfriend.

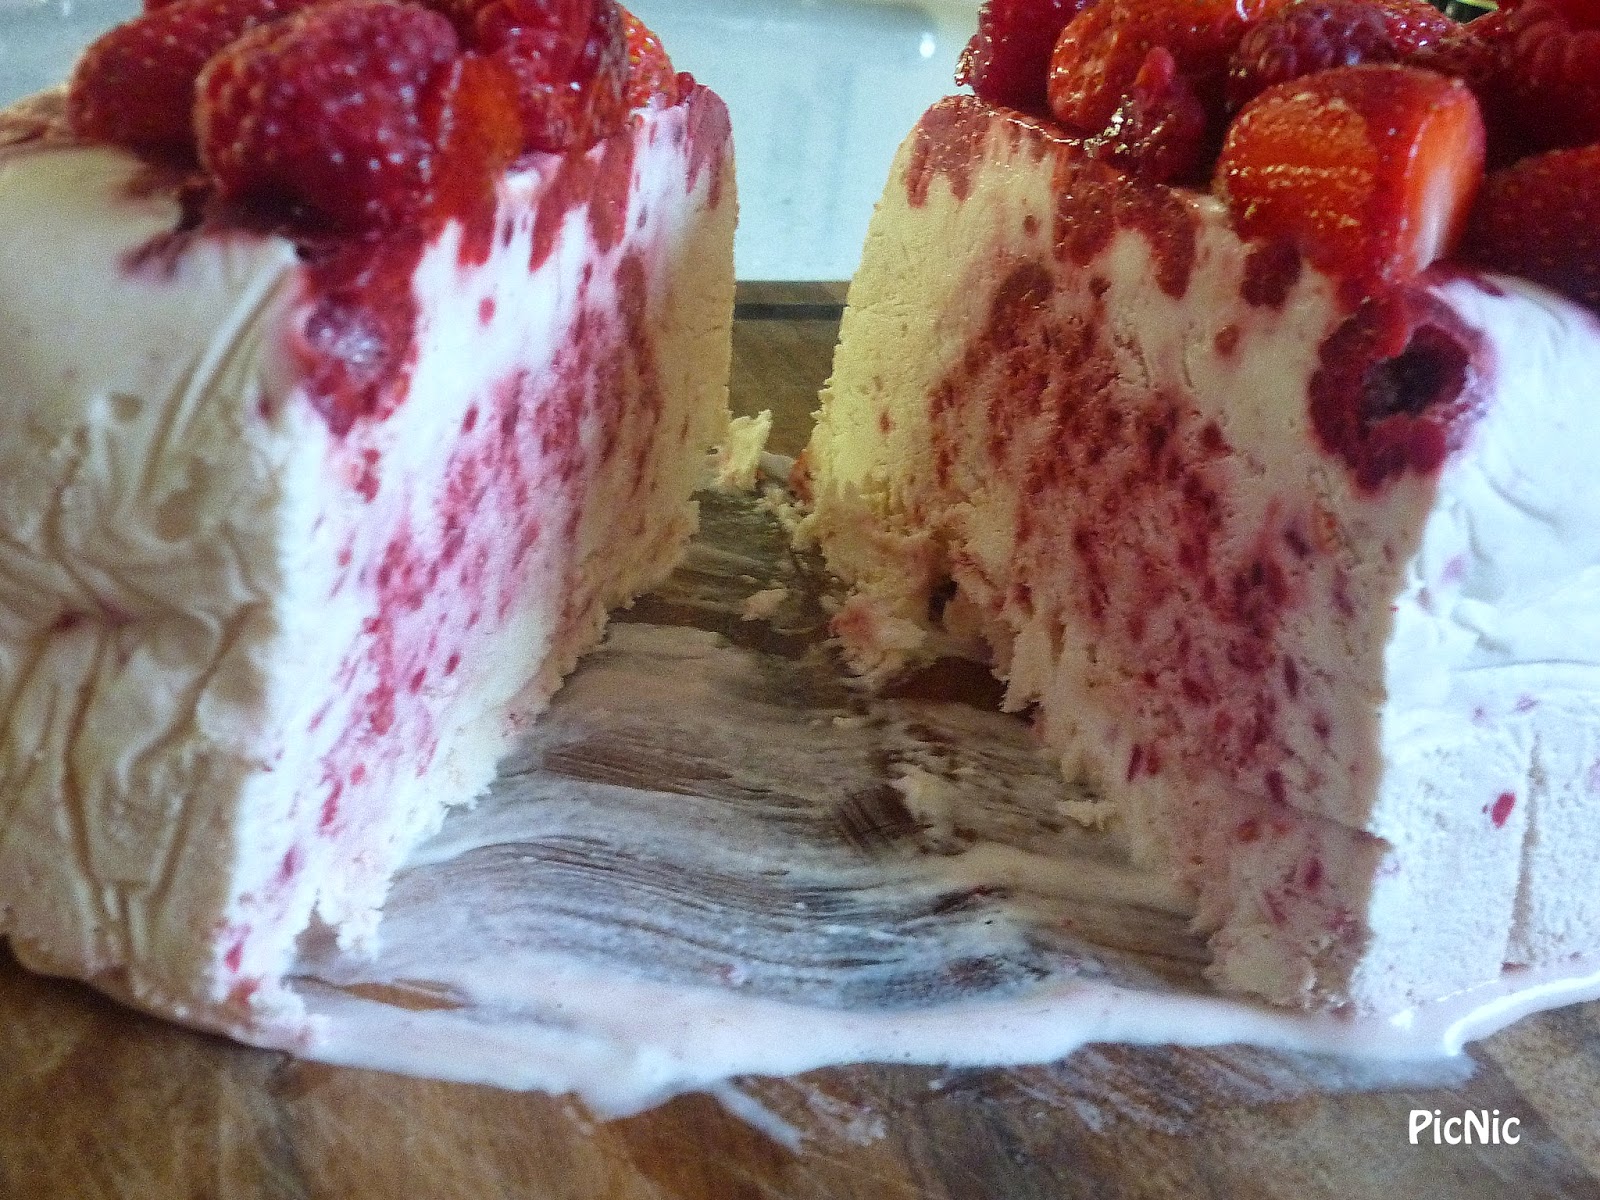
This would be a lovely dish to make on a special occasion, with Valentines Day coming up next month perhaps?  Also stay tuned for my dessert recipe, I'll post it tomorrow!


Chorizo and Mozzarella Ravioli


Serves 2 - 3

Pasta Dough

Half a recipe of Basic Egg Pasta (Or make the whole thing and keep half for something else)


Ravioli Filling

100 g Chorizo, chopped
1 Cup fresh spinach
1 tsp chilli flakes
salt and pepper to taste
1/3 Cup finely grated mozzarella

Pasta Sauce

1 Onion, finely diced
2 Cloves garlic, crushed, finely chopped, or finely grated
400 g tomatoes (fresh or canned, whatever is most readily available)
1 Tbsp Balsamic vinegar  
Salt and pepper to taste

1 egg + 1 tsp water, whisked together (to seal pasta edges)

1. Make the pasta dough following the directions on the recipe. You can use either a pasta machine or a rolling pin.

2. Make the filling by frying the chorizo with chilli flakes, salt, and pepper for about 4-5 minutes. Add the spinach and allow to wilt. Process to a fine mixture in a food processor or with a stick blender. Set aside.


3. Once the pasta is rested and rolled out into thin sheets make your pasta into shapes (use your imagination!), then cut out pieces using a cookie cutter, alternatively just use a pasta cutter (or pizza cutter) to divide into sections.

5. Fill the pasta by adding approximately teaspoon amounts of the filling mixture to the centre of a piece of pasta, top with a pinch of mozzarella. Take another piece of pasta, brush the edges with egg + water and seal over top of the filled piece, use a fork to press the edges of the two pieces together. Repeat this until all the pasta is filled. Cook the pasta in a large saucepan of boiling, salted water for about 4 minutes, stirring so that it doesn't stick. Removing from the pot using a slotted spoon. 

6. Make the sauce by frying the onion and garlic in a fry pan, add the tomatoes (if fresh, diced) balsamic, salt, and vinegar. Once nice and hot, blend in a food processor and using a stick blender.


Thursday 9 January 2014

Chicken and Mushroom Risotto

A lot of people have never attempted a risotto at home as people are often under the impression that they are really difficult and hard to get right. If you fall into this group then I suggest you give this recipe a try, I bet it will change your mind! It's nice and easy and bursting with flavour. I can definitely see myself adding this to my regular rotation.

Chicken and Mushroom Risotto

Serves 4

Olive Oil
2 Cups sliced mushrooms
300 g Chicken breast, diced
1 Onion, finely diced
4 Cloves garlic, finely diced
1 1/2 Cups Arborio rice
1/2 Cup white wine
5 Cups chicken stock, warm
1/2 Cup finely grated parmesan, plus extra for sprinkling
Salt and pepper

1. Heat a small amount of oil in a large saucepan over a medium heat.

2. Add the chicken and mushrooms and fry until the chicken is cooked through, about 5 minutes. Remove from the pan and set aside.

3. Return the pan to the heat and add the onion and garlic. Cook for about 2-3 minutes. Add the rice and stir for about 2 minutes, until the rice goes clear.

4. Add the wine, stir often until the wine has been absorbed into the rice.

5. Add half a cup of warm chicken stock, allow the stock to be absorbed, stirring often. Once the stock has been absorbed, add another half cup of stock. Repeat this process until there is only 1/2 cup of stock left (Will take about 25 minutes.)

6. Before adding the final half cup of stock, return the chicken and mushrooms to the pan. Add the final stock and stir until absorbed.

7. Stir through the cheese and season with salt and pepper to taste.